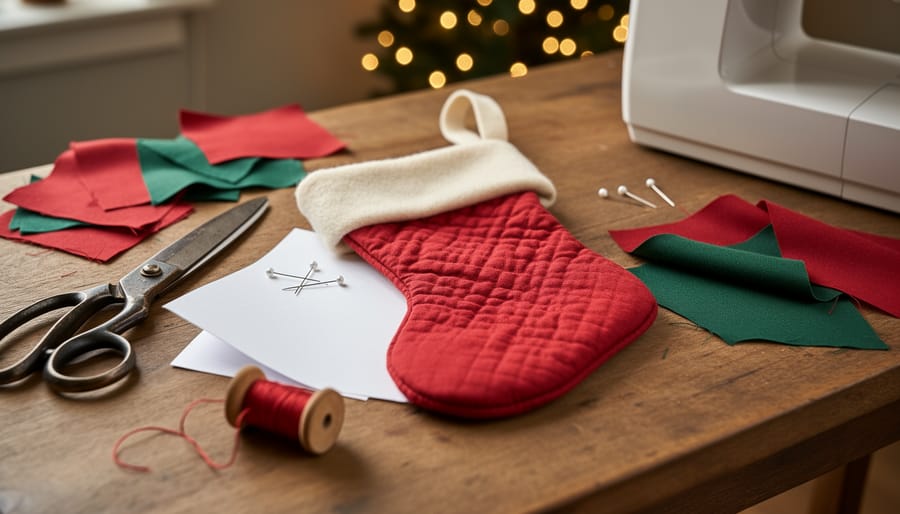
Choose a classic cuffed stocking pattern as your foundation—the simple shape features a boot-style silhouette with a folded-over top that showcases contrasting fabric, perfect for beginners working with cotton, felt, or festive quilting materials. Download free templates online by searching for basic stocking outlines, then scale them to your desired size (typically 16-18 inches tall) using a photocopier or grid method before cutting your fabric pieces.
Master the essential construction sequence: cut two matching stocking pieces plus cuff sections, sew the main body right-sides together leaving the top open, clip curves to prevent puckering, turn right-side out, then attach your prepared cuff and hanging loop. Pre-wash all fabrics to prevent shrinkage, use a quarter-inch seam allowance for durability, and reinforce stress points at the heel and toe with backstitching.
There’s something wonderfully timeless about handcrafted Christmas stockings hanging from the mantel, each one a testament to the care and creativity you’ve poured into your holiday traditions. Unlike store-bought versions, sewn stockings become treasured keepsakes that carry stories through generations—the slight imperfections in your stitching, your choice of cheerful patterns, the personalized touches that make each family member’s stocking uniquely theirs. Whether you’re embarking on your first DIY holiday projects or you’re an experienced sewer adding to your festive repertoire, creating stockings connects you to centuries of cozy Christmas customs while letting you express your own creative spirit through fabric selection, embellishments, and special details that reflect your family’s personality.
Why Handmade Stockings Become Family Treasures
There’s something almost magical that happens when you pull out a handmade Christmas stocking year after year. Unlike their store-bought cousins that might fray or fade into obscurity, stockings crafted with your own two hands carry an invisible thread of love that strengthens with each passing holiday season.
When you sew a stocking, you’re not just stitching fabric together—you’re weaving memories into every seam. Perhaps it’s the quiet evening you spent cutting the pattern while snow fell softly outside, or the moment your child helped choose the perfect ribbon trim. These small moments become embedded in the fibers, creating a tapestry of family history that no store shelf can replicate.
Handmade stockings tell stories in ways mass-produced versions simply cannot. That slightly crooked appliqué of a reindeer becomes a cherished imperfection, a reminder of your first attempt at a new technique. The custom embroidered name in your grandmother’s favorite font transforms a simple decoration into a precious heirloom. As years pass and those stockings emerge from storage each December, they bring with them whispers of Christmases past—the year the baby was born, the first holiday in your new home, the season when everyone was finally together again.
The beauty of creating your own stockings lies in endless personalization possibilities. Each family member can have designs reflecting their unique personality, from woodland creatures for nature lovers to glittering stars for dreamers. You can fill them with handmade stocking stuffers that match the heartfelt spirit of the stocking itself.
Most wonderfully, handmade stockings become bridges between generations, carrying your love and creativity forward to grandchildren who will someday marvel at what your hands created just for them.

Gathering Your Stocking Essentials
Fabrics That Capture the Christmas Spirit
The magic of Christmas stockings begins with the perfect fabric—those materials that shimmer with possibility and whisper of winter wonder. Luxurious velvet captures candlelight beautifully, its deep reds and forest greens evoking Victorian elegance, while cream or ivory tones create vintage charm. For a traditional feel, wool felt offers structure and comes in a rainbow of holiday hues that won’t fray at the edges.
Cotton prints scattered with snowflakes, reindeer, or candy canes bring playful personality, especially wonderful for children’s stockings. Consider pairing a festive print exterior with coordinating solid lining—perhaps a jolly Santa motif outside with crisp red cotton inside. Most standard stocking patterns require three-quarters to one yard of main fabric and the same for lining, though generous cuffs might need extra.
Think about texture combinations that delight both eyes and fingertips: fuzzy faux fur cuffs against smooth satin, metallic brocade trim dancing along velvet edges, or rustic burlap accented with plaid flannel. These thoughtful pairings transform simple stockings into heirloom treasures. Remember to prewash cotton fabrics to prevent later shrinking, preserving your handcrafted memories for Christmases yet to come.
Tools and Notions for Success
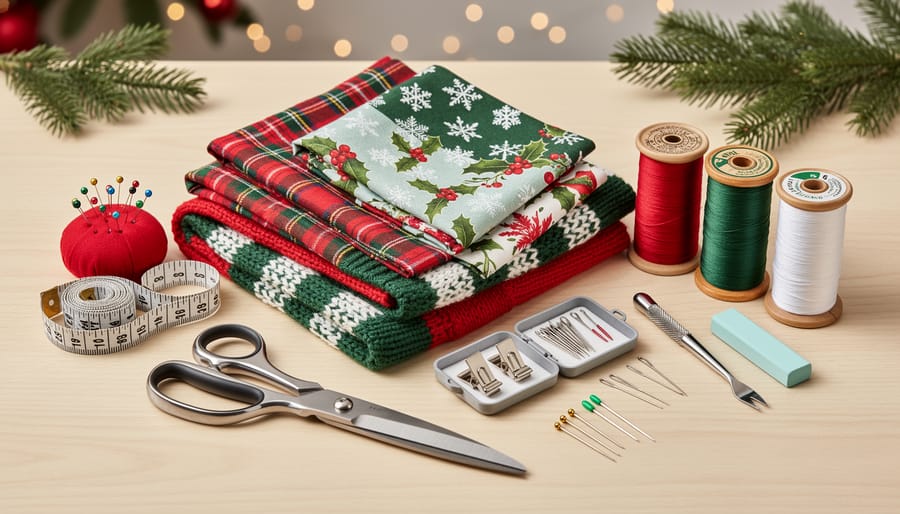
Before you begin stitching memories into fabric, gather your treasure trove of crafting essentials. You’ll need sturdy sewing needles in various sizes, along with thread in colors that dance with the spirit of the season – think crimson reds, snowy whites, and forest greens. Sharp fabric scissors are crucial for clean cuts that honor your beautiful materials, while small embroidery scissors help with delicate detail work.
Stock up on straight pins and a pincushion to keep everything securely in place as you work your magic. Marking tools like tailor’s chalk or water-soluble fabric pens will guide your stitches without leaving permanent traces on your cherished creation.
Now for the delightful extras that transform a simple stocking into an heirloom! Consider soft ribbons in luxurious satins or rustic ginghams, charming buttons that catch the light, decorative rickrack trim, jingle bells that whisper of sleigh rides, and fluffy pom-poms. Perhaps some embroidery floss for adding names or tiny snowflakes, or iron-on patches featuring reindeer and candy canes. These embellishments let your personality shine through, turning each stocking into a unique keepsake that tells its own heartwarming story for generations to come.
Pattern Selection Tips
Finding the perfect stocking pattern is like discovering a treasured ornament in grandma’s attic – each one holds unique possibilities for creating something magical. Free online patterns offer wonderful starting points for beginners, with simple silhouettes that let you focus on mastering basic techniques while your confidence blooms. If you’re drawn to intricate details like scalloped cuffs or heirloom quilting designs, investing in purchased patterns provides professional guidance and precise measurements that bring your vision to life beautifully.
Consider your family’s personality when selecting styles. Traditional Victorian shapes with generous cuffs evoke timeless charm, while modern slim profiles fit contemporary mantels perfectly. Size matters too – measure your mantel space and imagine each stocking filled with small treasures. Little ones adore oversized stockings that promise abundant surprises, while coordinating smaller versions create a cohesive family display.
Creating custom designs lets you weave personal stories into every stitch. Trace a beloved vintage stocking or sketch your own shape on paper, adding seam allowances before cutting fabric. This approach transforms simple materials into meaningful heirlooms that carry your family’s unique spirit through generations of Christmas mornings.
Your Step-by-Step Stocking Journey
Preparing Your Pattern and Fabric
Before the magic of stitching begins, let’s prepare your materials with the care of a craftsperson trimming a treasured family tree. Start by carefully tracing your chosen stocking pattern onto tissue paper or pattern paper, transferring all the essential markings like notches, fold lines, and seam allowances that will guide your journey.
When laying out your pattern pieces on fabric, remember that grain direction matters deeply, just as traditions follow their own natural flow through generations. Position your pattern so the lengthwise grain runs from the top of the stocking down to the toe, ensuring your finished treasure hangs beautifully and maintains its shape through years of filling and hanging.
Pin your pattern pieces securely to the fabric, smoothing away any wrinkles as you would straighten a holiday ribbon. Use sharp fabric scissors or a rotary cutter for clean, precise edges that will make assembly feel like pure joy. Mark important dots and notches with tailor’s chalk or a fabric pen, creating little guideposts for your sewing adventure.
Remember to cut two pieces for each stocking, mirror images of one another, like matching mittens waiting to cradle holiday dreams. Take your time with this preparation, as careful cutting now means smoother sailing when those pieces come together in festive harmony.
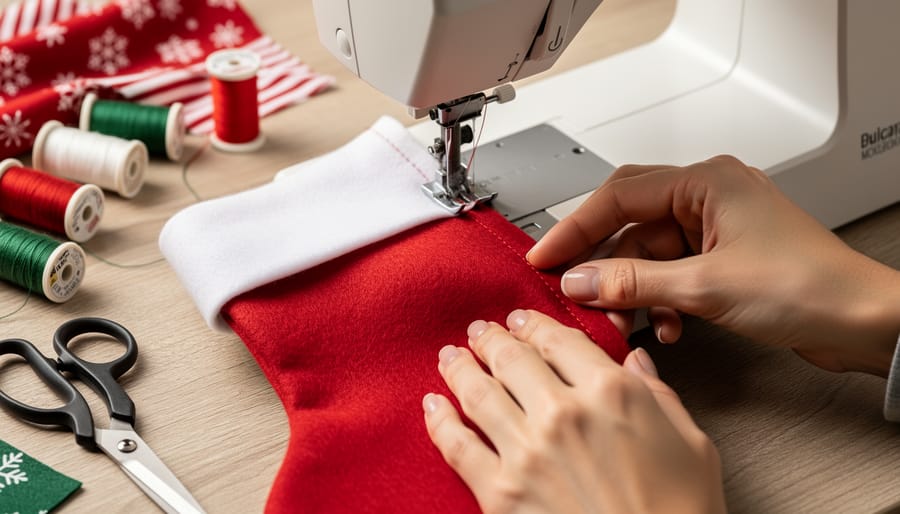
Stitching the Stocking Together
Now comes the magical moment when your stocking pieces transform into a cherished holiday treasure! Begin by placing your two stocking pieces together with right sides facing each other, just like closing a precious Christmas book. The wrong sides should face outward, waiting patiently for their grand reveal.
Pin carefully around the entire stocking edge, leaving the top opening free. Think of each pin as a tiny helper, keeping everything perfectly aligned as you work. Space your pins about two inches apart, paying special attention to the curves around the toe and heel where the fabric loves to shift and play hide-and-seek.
Using a standard half-inch seam allowance, stitch around the pinned edges with a steady, even pace. There’s no need to rush this joyful process. Your sewing machine should hum along like a gentle carol as you guide the fabric through. When you reach curves, slow down and pivot carefully, keeping that seam allowance consistent.
Once you’ve sewn completely around, snip small notches into the curved areas, being careful not to cut through your stitching line. These little clips help the fabric relax and lie flat when turned. Trim the seam allowance to about a quarter-inch if desired, especially around bulky areas.
Finally, reach inside and gently turn your stocking right-side out, using a chopstick or knitting needle to carefully push out those corners and curves. Watch as your creation emerges, ready to hold holiday dreams and sweet surprises!
Adding the Cuff and Hanging Loop
Now comes the magical finishing touch that transforms your stocking from a simple pouch into a cherished treasure ready to dangle from the mantel. The cuff and hanging loop are like the crown jewels of your creation, adding that extra sprinkle of Christmas wonder.
For a simple cuff that still captures the spirit of the season, cut a fabric strip about 4-5 inches wide and the same width as your stocking’s opening. Consider using a contrasting fabric that makes your heart sing – perhaps a snowy white fleece against deep red velvet, or a cheerful plaid against solid green. Fold the cuff in half lengthwise, right sides together, and stitch the short ends. Turn it right side out, then pin it to the stocking’s top edge with raw edges aligned. When you attach the lining, this cuff will be beautifully sandwiched in place.
If you’re feeling adventurous, create an elaborate scalloped or ruffled cuff by adding extra length and gathering the fabric, or embellish a basic cuff with lace trim, ribbon rosettes, or tiny jingle bells that whisper holiday melodies with every touch.
For the hanging loop, cut a sturdy fabric strip 6-8 inches long and fold it lengthwise, stitching close to the edge. This little loop carries the weight of childhood dreams and candy cane promises, so make it strong. Position it at the back seam of your stocking, tucking it between the outer fabric and lining before your final stitching, ensuring it’s securely caught in the seam for years of joyful hanging.
Making It Uniquely Yours
Now comes the magical moment when your handmade stocking transforms from a simple fabric creation into a treasured heirloom. Personalization breathes life and love into every stitch, making each stocking as unique as the person who’ll hang it by the chimney.
Embroidery offers timeless elegance, whether you carefully stitch a name in flowing script across the cuff or create delicate snowflakes dancing down the stocking’s length. Consider adding the year for a sweet touch that marks this particular Christmas in your family’s story. Appliqué brings dimension and whimsy to your design with felt reindeer, cozy mittens, or jolly Santa faces that children will adore for years to come.
For extra sparkle, sew on sequins, jingle bells, or ribbon rosettes that catch the glow of twinkling lights. Vintage buttons from grandmother’s sewing box add nostalgic charm, while colorful pom-poms or tassels create playful movement. You might even incorporate fabric scraps from memorable clothing or quilts, weaving family memories directly into your creation, much like using beautiful gift wrap made from treasured materials.
Each embellishment tells a story, turning your stocking into more than decoration. It becomes a celebration of the person who’ll receive it.
Creative Variations to Try
Classic Elegance: Velvet and Gold
Step into a world of timeless sophistication where crushed velvet in deep crimson, forest green, or midnight blue creates stockings worthy of a Victorian Christmas morning. These classic designs evoke memories of grand fireplaces and candlelit parlors, where stockings hung with elegant grace beneath fragrant evergreen garlands. When working with luxurious velvet fabric, consider adding gold metallic thread for embroidered flourishes or delicate brocade cuffs that catch the firelight just so. The weight and drape of velvet naturally creates those beautiful folds and gathers that make each stocking feel like an heirloom passed down through generations. Gold piping along the seams adds a touch of refinement, while satin linings in complementary colors provide a smooth interior perfect for tucking treasures inside. These sophisticated patterns often feature longer, slender silhouettes that exude grace and charm, transforming your mantelpiece into a scene straight from a beloved holiday storybook.
Whimsical Wonderland: Playful Patterns
Transform your little one’s stocking into a delightful treasure with playful patterns that capture childhood wonder. Picture stockings adorned with dancing reindeer wearing bow ties, jolly snowmen with carrot noses, or beloved storybook characters who come alive on Christmas Eve. These cheerful designs burst with candy-cane stripes in cherry red and peppermint pink, polka dots as bright as ornament balls, or fabrics sprinkled with gingerbread cookies and sweet treats.
Consider choosing fabrics featuring whimsical winter scenes where polar bears ice-skate and penguins build snow forts, creating magical storytelling opportunities as you tuck your children into bed on Christmas Eve. Bold geometric patterns in rainbow hues or fabrics covered with twinkling stars and smiling moons add extra enchantment. These spirited stockings become cherished childhood memories, photographed year after year as your little ones grow, their faces lighting up with the same joy reflected in every playful stitch and cheerful color.
Rustic Charm: Farmhouse Style
There’s something wonderfully heartwarming about stockings crafted from natural fabrics that tell a story of simpler times. Imagine the soft texture of cream-colored linen or the earthy appeal of burlap creating stockings that feel like they’ve been plucked straight from grandmother’s country cottage. These rustic beauties embrace imperfection, celebrating the handmade quality that makes each stitch special.
For an authentic farmhouse feel, layer natural cotton muslin with burlap cuffs, adding charm through homespun details like jute rope hangers and wooden button embellishments. Consider hand-stitching family names using thick red or green embroidery floss for that coveted homemade touch. Vintage fabric scraps, grain sack stripes, and even repurposed flour sacks bring authentic character to your creations.
The magic of farmhouse-style stockings lies in their unpretentious beauty. Red gingham patches, cream lace trim salvaged from old linens, and sprigs of dried lavender or rosemary tucked into the cuff create stockings that smell as delightful as they look. These cozy creations transform your mantel into a countryside Christmas scene, where every stocking whispers tales of warm firesides and treasured family gatherings.
From Workshop to Tradition: Making This an Annual Celebration
Imagine gathering around your kitchen table each December, thread and fabric scattered about, laughter filling the air as tiny hands learn to make their first stitches. What begins as a simple sewing session can blossom into one of your most treasured family Christmas traditions.
Transform your stocking-making into an annual celebration by hosting a workshop weekend the first Saturday after Thanksgiving. Invite grandparents, aunts, uncles, and cousins to join in creating magic together. Set up stations with different tasks – cutting patterns, pinning fabric, sewing seams, and adding embellishments. Even the littlest helpers can glue on sequins or choose ribbon colors.
Each year your collection grows richer with meaning. Welcome new babies with their first handmade stocking, crafted while sharing stories about the family they’re joining. When children bring home someone special, create a stocking together – a tangible way of saying you belong here now. These fabric treasures become visual timelines of your growing family, hanging side by side above the fireplace.
Consider pairing your stocking-making tradition with other handcrafted activities, like making ornaments together, to create an entire afternoon of festive creativity. Document each year’s gathering with photos tucked inside the stockings themselves – opening them becomes a journey through Christmases past, stitched together with love and crimson thread.
There’s something truly enchanting about creating handmade treasures that will become part of your family’s Christmas story for generations to come. As you gather your fabrics, thread your needle, and make those first careful stitches, you’re not just following a pattern—you’re weaving love and tradition into every seam. Imagine Christmas morning when those stockings you’ve crafted with your own hands hang proudly by the fireplace, filled with surprises and overflowing with holiday magic. The pride in your children’s eyes when they see their names embroidered on stockings made especially for them is a gift that no store-bought decoration could ever match.
This is just the beginning of your Holiday Maker Workshop journey. Once your beautiful stockings are complete, why not continue the magic with a matching tree skirt? Together, these handmade pieces will transform your home into a wonderland of warmth and cherished memories. So thread that needle, choose your favorite fabrics, and let the joy of creating guide your hands. Your family’s Christmas traditions are waiting to be stitched into being, one beautiful stocking at a time.