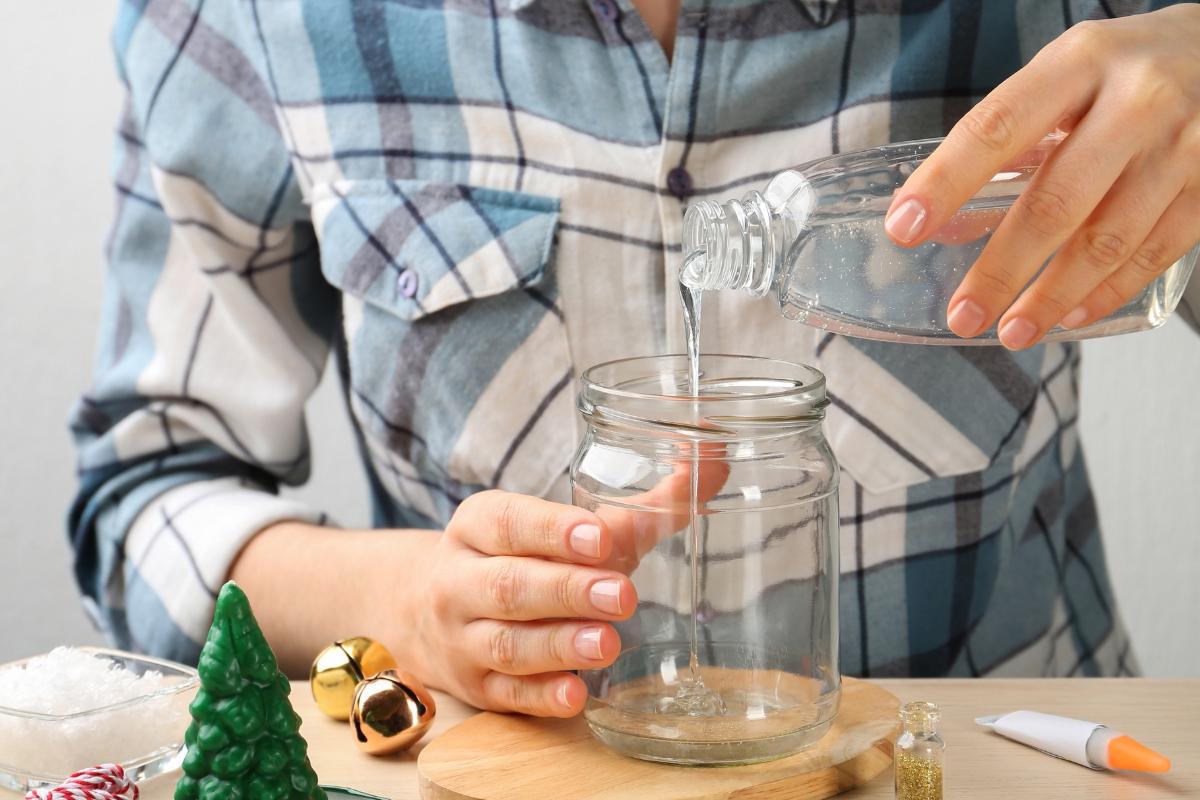
I recently had to refill a snow globe and realized that, despite their secure seal, they are not impossible to refill. Sure, depending on the snow globe type, some can be a bit tricky, but many are quite straightforward. However, it is a gentle process. One wrong move could crack the glass or muddle the water. Trust me, you don’t want your hard work going down the drain!
Materials Needed
- This Snow globe (removable plug)
- Distilled water
- This Vegetable Glycerin
- Glitter
- This Sparkling snow
- A container or your bathroom sink
- Soft towel
- Screwdriver
- Epoxy adhesive (this may come in handy when resealing your snow globe)
Steps
The steps described below are for snow globes with removable bases or plugs.
Prepare Your Work Area
When refilling your snow globe, ensure your workspace is as clean as possible. If you refill your snow globe is an unclean space, you may contaminate the fluid.
With contaminated fluid, your snow globe may become tainted by microbial growth. Of course, with that, you lose aesthetics.
You may also get a soft towel to serve as a cushion for the globe in your workspace.
Detach the Musical Component
The snow globe I tried these steps with was a musical snow globe. If yours is also a musical globe, you must detach its musical component before emptying its content.
Typically, the musical component is screwed underneath the snow globe. So, to detach it from the globe, gently unscrew it with an appropriate screwdriver.
Remove the Plug
After detaching the musical component, you should see the removable plug at the globe’s base. Carefully remove the plug, and ensure you do not apply too much pressure to the glass.
Empty the Contents of the Globe
Before doing this, if any figurine may fall out while emptying the contents of the globe, remove it and set it aside.
Once that is done, carefully pour out the contents of the globe into a container or your bathroom sink.
Rinse and Air-Dry the Globe
After emptying the snow globe, you must rinse and air-dry it. I rinsed mine with distilled water and did the same to the figurine I removed. Then, I air-dried both items.
Make the Snow Globe Liquid
The liquid you use in your snow globe will depend on whether you want or do not want the snowfall effect. If you desire the snowfall effect – the snow falling slowly – add a clear, viscous liquid to the mixture. In most cases, people use glycerin for that purpose.
If you intend to create the snowfall effect, mix a small amount of glycerin with the distilled water. If you use too much glycerin, the snowflakes might fall too slowly. I used two parts glycerin and eight parts water for my snow globe.
After mixing distilled water and glycerin, you may add some artificial snow or glitter, depending on your desired effect. But ensure you do not add too much sparkle because the water may become murky.
The primary reason for refilling snow globes with distilled water is to ensure the water barely has any residue.
Refill the Snow Globe
Once the mixture is ready, gently pour it into the snow globe. But do not fill the globe completely; leave some space for the volume the figurine will fill.
If the plughole is too tiny to pour the mixture, you may use a clean, unused syringe instead. Fill the syringe with the mixture, then inject it into the globe.
Reattach the Plug
Before reattaching the plug, return the figurine(s) to its position in the snow globe. Then, check for air bubbles that may be trapped in the globe. If there’s any bubble, gently tap the globe to dislodge it.
Once that is done, carefully reattach the removable plug. But before doing so, ensure the plug is free of dirt. Also, ensure the plug is not damaged in any way.
If the plug was initially sealed with an adhesive, you might want to reseal it with the epoxy adhesive. This way, you’ll minimize the risk of a leak. It is typically recommended to use a thin adhesive layer for this purpose. But you may read the adhesive’s instructions for clarity.
Check for Leaks
After reattaching the plug and sealing it correctly with the epoxy adhesive, confirm the absence of leakages. You can do this by shaking the snow globe gently.
To fix any leak detected, dry the leaky area. Then, apply the adhesive as needed.
Reattach the Musical Component
If yours is a musical snow globe, you can reattach it once you’ve confirmed there are no more leaks. The musical component might get damaged by water if there are leaks.
Let the Contents of the Globe Settle
After reassembling the snow globe, let it settle for a few minutes or hours. Let its contents fall back into place under gravity. Once that is done, you may start using your snow globe again.


