Easy ways to hang Christmas lights on a brick wall without damaging its surface include brick clips, glue guns, and masonry anchors. Which method you choose depends on the size of your bricks, the gap between the bricks, and your skills.
Option 1: Brick Clips

If you decide to go with brick clips, you should have the following tools:
Tools
- Ruler/Measurement tape
- Ladder
- Rope lights
- These brick clips
Process
Step 1: Check How Far the Bricks Stick Out From the Wall
You can’t use brick clips if the brick doesn’t stick out from the wall. A perfectly smooth wall is a problem. Use your measuring tape or ruler to confirm if the brick sticks out. The brick needs to stick out at a length or distance of 3.2 mm from the wall to latch the brick clips onto the wall.
This is a deciding step because it helps you decide whether to opt for brick clips or an alternative solution to attaching Christmas lights to brick.
Step 2: Determine the Size of the Brick Clips You’ll be Using by Measuring the Bricks
This helps you determine the type of clips to buy from hardware stores. You can also use either your measurement tape or brick clips to carry this out. Bricks vary in size, and different kinds of brick clips are designed to fit a certain brick size.
For instance, if your brick measures 64 mm, you should purchase a standard clip. On the other hand, buy a queen clip if your brick measures 70 mm. The bigger your brick, the bigger the clip.
Step 3: Decide on the Amount of Space You Want to Cover When Hanging Christmas Lights
This option is to help you decide on the amount of outdoor Christmas lights and brick clips you need. So you don’t end up buying a quantity that’s not enough or too much for the project.
You’ll need your tape measure and ladder for this step. Around the opening on the wall or at the top is an excellent area to cover.
For the light strand to be laid perfectly on the wall of brick homes, the spacing between each clip should range between 150 mm and 200 mm. Eight clips or thereabouts should be ideal if you want to hang string lights to cover 4 feet of your wall.
On the flip side, you can make the spacing between clips farther than 200 mm for the Christmas lights to have that droopy or dangling effect.
Step 4: Attach the Clip to the Brick
Brick clips have one thing in common- an extended u-shaped spring at their bottom. Install the clip over the brick and apply pressure on the spring at the base of the brick. The clip should firmly latch onto both ends of the brick.
Inspect its firmness by tugging at it. It should be steady on the wall’s surface. Repeat this move continuously until you’ve covered the entire area you mapped out.
Step 5: Attach Christmas Lights to the Clip
Another feature every brick clip has in common is the two prongs at their front. This is where you’ll hang lights by spreading the light strand through the clips on the wall.
Option 2: Hot Glue Gun
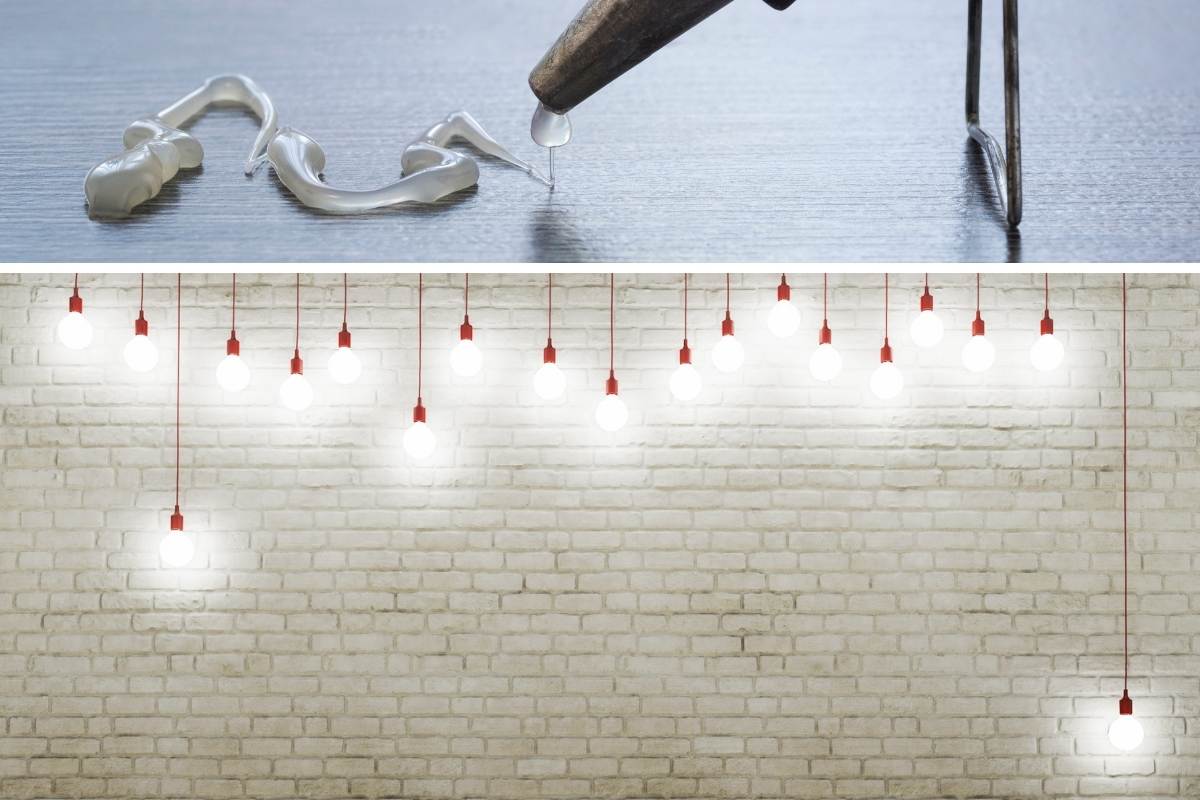
Using a hot glue gun is another answer to “how to hang Christmas lights on brick?” For this method of hanging lights on brick, you’ll need the following tools:
Tools
- Your chosen Christmas lights
- Hot glue gun
- Extension cord
- Glue stick (they come with this hot glue gun kit)
- Rubber gloves
Process
Step 1: Select the Right Kind of Lights
We recommended getting large, thick bulbs because their bottoms are larger, making applying glue and attaching these Christmas lights to brick easier. Aside from the fact that it makes the process easier, these types of bulbs can handle more glue.
Icicle light bulbs are cute and fancy, but their tiny size puts them at a disadvantage for this method of hanging string lights.
Step 2: Get your Hot Glue Gun Ready
To fire up the glue gun for this step, insert a glue stick inside and let it heat for a couple of minutes. If the area of the wall that you’ve mapped out to hang Christmas lights on brick is too high, you’ll need a ladder to ascend and an extension cord attached to your glue gun to give you more mobility with it.
After the required period of heating the glue, pull the trigger to see if hot glue will ooze out. You have to be careful at this point, so we recommend wearing a pair of high-quality gloves that are resistant to heat. You wouldn’t want this hot liquid searing your gloves and scalding your hands.
Step 3: Apply Hot Glue to Bulbs
Get a light bulb and pull the trigger of your hot glue gun to put a bead of glue on its bottom. It should be 25 mm thick. This will make the light bulbs stick out horizontally from the wall’s surface.
Alternatively, you can apply hot glue to the plastic casing on the bulb’s socket. This bead of glue should only be applied across it. Take care, so it doesn’t touch the electrical wire in the light string connecting the light bulbs together. This method will make the lights stick out vertically.
Step 4: Hang Christmas Lights ON Brick
It’s time to test the firmness of the adhesive you applied. Place the bulb against the wall and apply pressure for about 20-30 seconds. This is enough time for the glue to cool and set. When you remove your hand, the bulb should remain in place. Check to make sure it’s firm enough.
If it’s loose, drip more adhesive on the wall from the top edge of the bulb’s socket. Then place the bulb against the wall and apply pressure again for the same time window. Repeat this step for other light bulbs and ensure there’s enough space to make the light string have some allowance while being taut.
P.S.: Don’t worry about removal; that’s easy with rubbing alcohol.
Option 3: Masonry Anchors
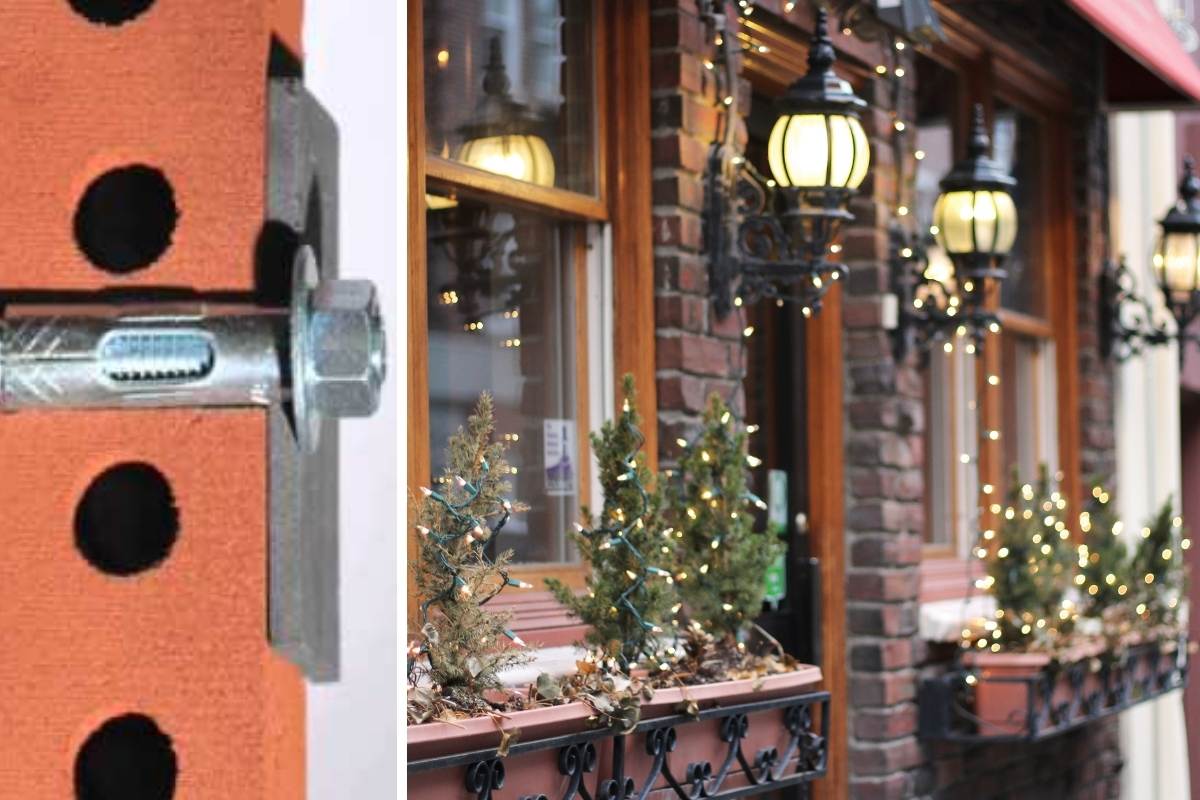
Suppose you don’t want to use brick clips or glue guns to hang lights. Using these anchors also answers how to hang Christmas lights on brick. It’s a bit more technical and risky, though. You’ll need the following materials:
Tools
- Tape measure
- Ladder
- Wall plugs (They come in different sizes, but the smallest one will do)
- Masonry anchors with drill bits
- Power drill
- Small screwdriver
- Screw Hooks
- Chalk
- Dust mask
- Safety Goggles
- Chisel (optional)
- Zip ties
Process
Step 1: Map Out the Area you want to Hang Lights On
For this step, pick out the part of the wall you want to decorate with Christmas lights. Around a window is an excellent spot for this. Get your measuring tape to map out where you want to install these lights. If the place is high, you’ll need to use a ladder.
Then use chalk to pinpoint the areas you’ll drill holes into the mortar. The designated spots for holes shouldn’t be more than 12 inches, but they can be less.
Step 2: Drill Holes into the Wall
We strongly advise that you wear your safety gear to shield yourself from flying pieces of mortar. Put your drill bit on the power drill, power it up, and drill a 52 mm hole in the marked spots. Ensure you firmly hold the power drill while drilling through the mortar to avoid damaging the brick. Repeat this step on every spot you marked for drilling.
Step 3: Installation
Pick up your small screwdriver and screw a hole into the wall. (Use a drill bit larger than the anchors.). Now push the wall anchor into the hole. Take your first hook, place it over the pre-drilled hole and attach the hook to the wall by driving the screw into the hole with a screwdriver.
Step 5: Hang your Lights
Start hanging your rope lights on the hooks and work them around the area you mapped out. While the lights will hold firm in some places, they won’t be secure in other places. This is where your mounting tape or zip tie comes in. Wrap either on the light cord, and you’re good to go. For better visual effect, the color of the zip tie should match that of the wire stringing the lights.